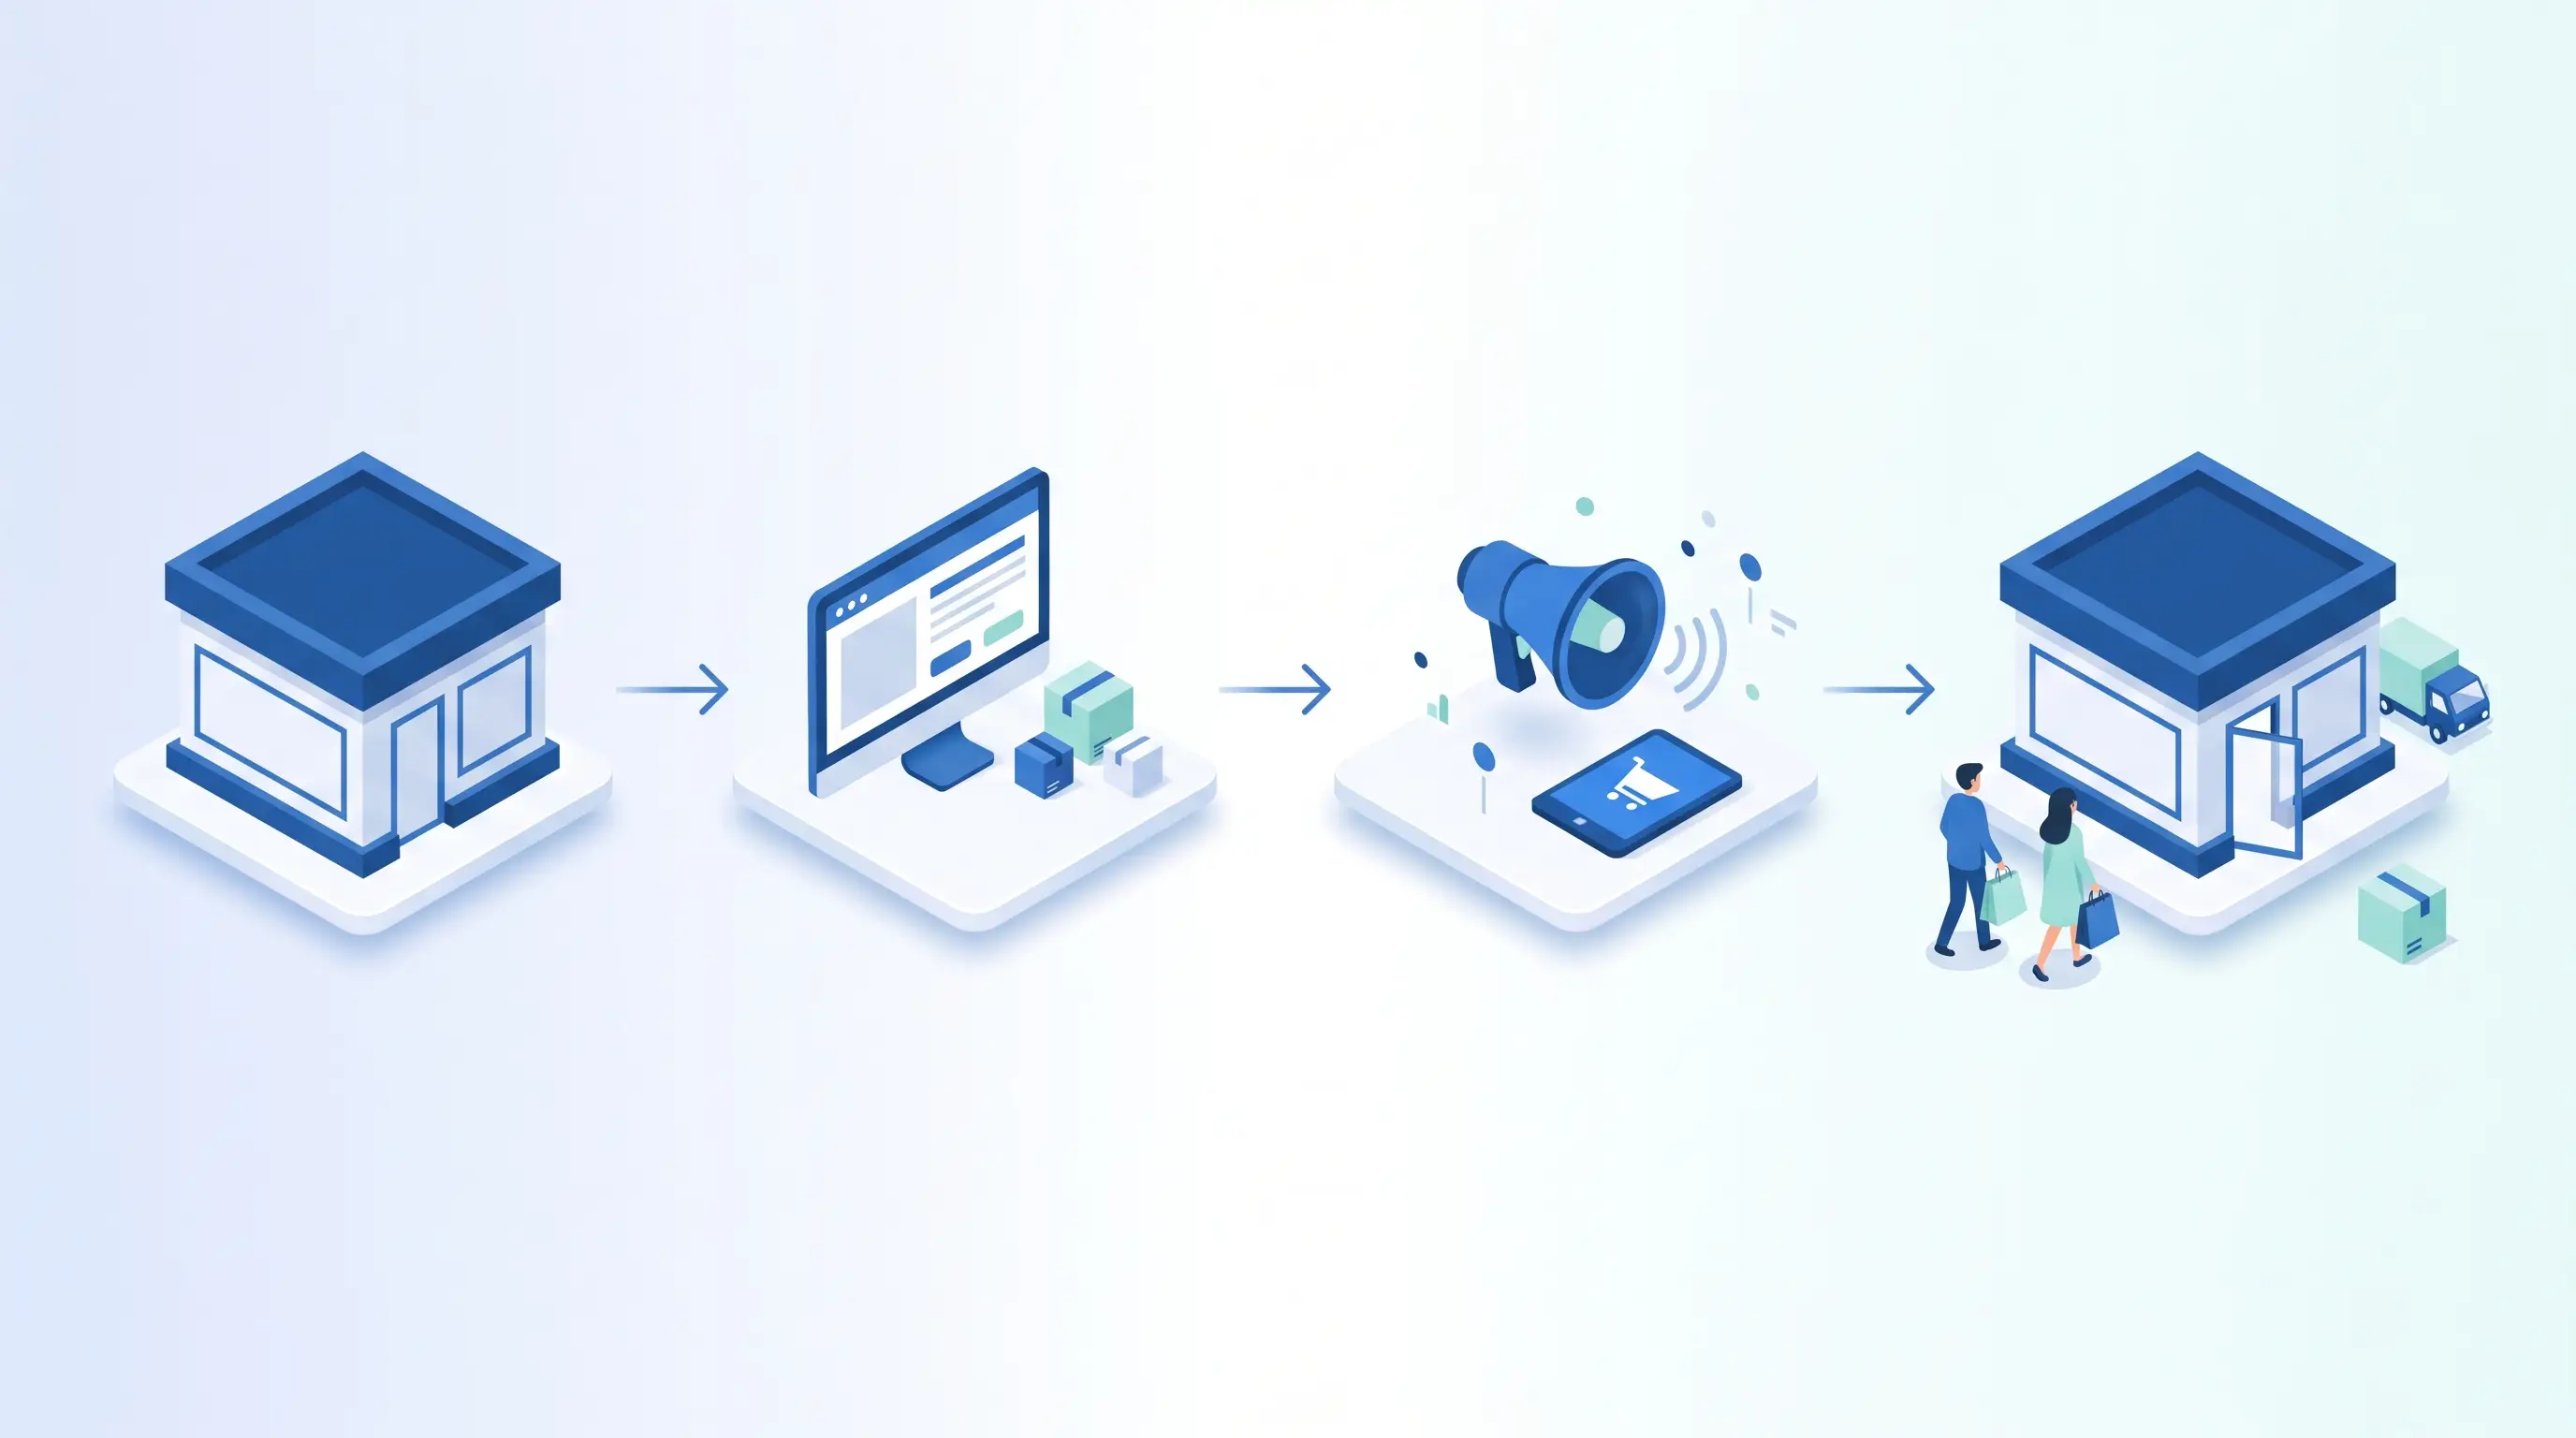

The path to opening a Shopify store is actually straightforward: first you start a free trial account; then you choose the right plan for your business, install a theme to design your store, and add your products. Since Shopify Payments is not available in Turkey, you integrate a local provider such as iyzico or PayTR at the payment step, complete your shipping and tax settings, and launch your store. Depending on your preparation, this process can take anywhere from a few days to a few weeks. In this guide we'll walk through every step in order, including Turkey-specific pitfalls.
Shopify is one of the most widely used e-commerce platforms in the world, standing out for its ease of setup, broad range of themes, and an ecosystem of thousands of apps. However, opening a Shopify store from Turkey works a little differently from what international tutorials describe: you'll need to make Turkey-specific decisions around payment infrastructure, currency, localization, and taxes. There's no shortage of business owners who watched English-language setup videos, got stuck at the payment step, and left their stores half-finished for months. This guide was written with Turkey's realities in mind, precisely to fill that gap.
Before You Start: Is Shopify Right for You?
Before diving into the setup, let's do a quick reality check. Shopify is a platform whose monthly subscription is billed in US dollars; it offers high design flexibility, a very strong app ecosystem, and is especially advantageous for those targeting international sales. On the flip side, it takes a bit more effort than Turkey-based platforms when it comes to local payment integration, Turkish interface text, and marketplace connections.
We comfortably recommend Shopify for the following profiles in particular:
- Those planning to sell internationally: Multi-language, multi-currency, and global payment options are Shopify's strongest suit.
- Those who prioritize branding: Theme and design flexibility allows boutique brands to build a distinctive storefront.
- Those who want to grow through apps: There's a ready-made app for almost every niche scenario — subscriptions, memberships, bundled sales, pre-orders, and more.
If you haven't yet settled on an e-commerce platform, we recommend first checking out our ikas vs. Shopify comparison, and for a general overview our how to open an e-commerce site guide. If you've decided on Shopify, let's continue step by step.
Step 1: Creating a Shopify Account and Starting the Free Trial
This is the easiest step of the setup. You go to Shopify's website, enter your email address, and start a free trial. During registration the platform asks you a few questions — what you sell, where you'll be selling from — which shape your store's initial settings; you can change all of these later. No credit card information is required at this stage.
- Store name: Enter your brand name. This name also becomes the prefix of your temporary address (example-store.myshopify.com); the temporary address can't be changed later, but your customers will never see it.
- Country and currency: Set the country to Turkey and the store currency to TL. This seemingly small setting determines a great deal on the payment and reporting side.
- Trial period: Shopify typically offers a short free trial followed by discounted campaigns for the first month(s); campaigns change periodically — check the registration screen for the latest offer.
You don't need to purchase a domain name at this stage. You can build and test your store on the temporary address, then connect your own domain when you're closer to launch. If you already have a domain, you can connect it via DNS redirect; if not, you can register one directly through Shopify or through a Turkish domain registrar.
Step 2: Choosing the Right Plan
You'll need to choose a plan before your trial period ends. Shopify's core plans are functionally similar to each other; the differences show up in number of users, reporting depth, and transaction commission rates. For a newly opened store in Turkey, the entry-level plan is almost always sufficient.
Under the current campaign, Shopify lets you get started for just 1 USD per month for the first 3 months after a 3-day free trial — an ideal entry point that nearly eliminates the risk. When the campaign period ends, the applicable plan prices (2026) are as follows:
| Plan | Monthly billing | Annual billing | Third-party payment surcharge | Best for |
|---|---|---|---|---|
| Basic | 27 USD/mo | 25 USD/mo | 2% | Solo entrepreneurs, new stores |
| Grow | 72 USD/mo | 65 USD/mo | 1% | Small teams (5 staff accounts) |
| Advanced | 399 USD/mo | 360 USD/mo | 0.6% | High volume, advanced reporting (15 staff accounts) |
| Plus | Starting from 2,300 USD/mo | — | 0.2% | Enterprise and complex businesses |
Prices reflect the list prices current at the time this article was updated (2026); since campaigns may change, also check the current figures on Shopify's own pricing page.
Two practical tips: First, annual billing generally offers a noticeable discount over monthly billing, but starting on monthly billing is less risky until you're confident the business will take off. Second, the subscription is charged in USD; factor exchange rate fluctuations into your cost planning from the outset. Upgrading your plan is always just a few clicks away, so there's no need to start on a higher plan "just in case."
Step 3: Choosing a Theme and Designing Your Store
The theme is the skeleton of your store. Shopify's own free themes are more than sufficient for most businesses just starting out — they're fast, mobile-friendly, and regularly updated. Paid themes in the theme store are sold for a one-time fee and generally offer more ready-made sections, filtering, and display options. The healthiest approach is to launch with a free theme, then invest in design once you've generated revenue.
During the design phase, complete the following in order:
- Brand identity: Define your logo, color palette, and typography in the theme settings; consistency builds trust.
- Homepage sections: A hero image (banner), featured collections, a promotional area, customer reviews, and a brand story section form a typical layout.
- Collection and menu structure: Name your categories in your customers' language; every product should be reachable within three clicks.
- Informational pages: Go ahead and create placeholder pages now for About Us, Contact, FAQ, and legal pages.
The most commonly skipped task in Turkish setups is translating the theme text into Turkish. Themes come in English; you'll need to translate dozens of strings — "Add to cart," "Sold out," "Continue shopping," and many more — one by one in the theme's language settings. Skip this and your store will appear half in English, which significantly hurts conversion rates. Whether to proceed with a ready-made theme or invest in a custom design depends on your budget and branding goals; we examined that decision in detail in our pre-built theme vs. custom design guide.
Step 4: Adding Your Products

Product pages are the heart of your store. Adding products to Shopify is technically straightforward; the hard part is building product pages that actually sell. Entering a small number of products with care will always outperform bulk-uploading hundreds of products haphazardly.
Product images
In e-commerce, the image is the product. Aim for at least three or four shots per product: a clean-background hero image, a detail close-up, and a lifestyle shot showing the product in use. Upload all images in the same aspect ratio so collection pages display consistently. Compressing files and uploading them in modern formats (such as WebP) keeps your page speed in check; a slow-loading product page loses the sale before the customer even sees the price.
Product title and description
Use the keyword your customer would search for in the title: not "Model X-200" but "Stainless Steel French Press 600ml." In the description, lead with the problem the product solves and the benefit it delivers, then list technical specs in bullet points; don't leave out measurements, materials, usage, or care information. We've outlined everything you need to do to get your product and category pages found on Google in our e-commerce SEO guide.
Variants, inventory, and pricing
Define options like size, color, or capacity as variants; you can assign a separate inventory quantity — and a separate price if needed — to each variant. Always enable inventory tracking; having sold items deducted from stock prevents the nightmare of selling an out-of-stock item and having to process a refund. Enter prices in TL and VAT-inclusive; in Turkey, prices displayed to consumers must include all taxes. Once you group products into manual or rule-based automatic collections and link them to your menu, the storefront side is complete.
Step 5: Setting Up Payment Infrastructure — Turkey's Most Critical Step
This is the step that international guides skip entirely, yet it's the most critical part of any Turkish setup: Shopify's own payment system, Shopify Payments, is not available in Turkey. That means even if your store is ready, you cannot collect a single card payment without connecting a local payment provider. In Turkey, Shopify stores accept payments through local payment institutions such as iyzico and PayTR, or through banks' virtual POS (payment gateway) solutions; these providers have ready-made apps in the Shopify App Store.
The payment setup roadmap looks like this:
- Choose a provider: Compare commission rates, payout (settlement) timelines, installment support, and Turkish-language support quality. For current rates, check our virtual POS commission comparison.
- Apply: Applications require your tax registration certificate, signature circular, bank account (IBAN), and company details — which means your business needs to be legally established before this step.
- Wait for approval: Review processes can take a few business days to a few weeks depending on the provider; having your store's legal pages ready can speed up approval.
- Install the app: After approval, install the provider's Shopify app, enter your API keys, and activate the payment method.
- Test it: Place a low-value real order and pay by card; verify end-to-end that the funds land in your account and that order confirmation emails are sent correctly.
When planning your commission costs, consider two items together: the payment provider's own commission and Shopify's additional transaction fee for using a provider other than its own payment system. This extra fee varies by plan (2% on Basic, 1% on Grow, 0.6% on Advanced, 0.2% on Plus) and is noticeable on products with tight profit margins; price accordingly.
In the stores we've taken over, the single biggest cause of delayed launches was leaving the payment provider application to the last week. Paperwork and approval processes take time; if you submit your application in parallel while you're adding your products, you won't be caught empty-handed on launch day.
One final note: cash on delivery and bank transfer/EFT are still preferred by a meaningful portion of customers in Turkey. You can define these as manual payment options in Shopify; they're a practical addition that boosts conversion in the early months in particular.
Step 6: Shipping and Delivery Settings
Shipping is the key cost and customer satisfaction driver in Turkish e-commerce. Shipping carriers price by desi (volumetric weight): the greater of the package's volumetric value (length × width × height / 3,000) and its actual weight is used as the basis. If you set your shipping rates without knowing the average desi of your products, you'll either drive customers away with a high rate or lose money on every shipment.
In Shopify's shipping settings, three strategies are typical for Turkey:
- Flat rate: A single shipping charge for all orders. The easiest to set up; ideal for sellers whose products have similar average desi.
- Free shipping threshold: Free shipping above a certain order value. This raises average order value and is now something Turkish customers expect; set the threshold slightly above your average basket size.
- Weight/value-based tiers: Different rates for different desi ranges. Necessary for sellers of bulky products like furniture or hardware.
On the operational side, negotiate corporate rates with shipping carriers rather than shipping individually; contracted rates are noticeably below listed prices, and your negotiating power grows as your volume increases. Turkish shipping integration apps in the Shopify App Store automatically generate barcodes and tracking numbers from orders, significantly speeding up your packing process. Design your returns process from the start as well: which carrier, who pays, how many days? The answers to these questions need to be clearly spelled out on your returns and exchanges page.
If you haven't yet reached the volume to negotiate contracts with individual shipping carriers, our recommendation is to work with Basit Kargo. A single free membership gives you access to contracted rates from multiple shipping carriers; the platform doesn't add a commission — it only deducts the shipping cost from your balance — and its ready-made Shopify integration automatically imports your orders and generates barcodes and tracking numbers on its own. We've covered the setup steps and fee details in our Shopify shipping integration guide.
Step 7: Tax, Company Registration, and Legal Requirements
Ongoing, profit-seeking e-commerce in Turkey requires tax registration; payment institutions also require company documentation when you apply. This means the "I'll sell first and set up a company if it takes off" approach is not practically feasible on Shopify — you can't connect a payment provider without a registered company. For new starters, the most common route is a sole proprietorship, which is quick to set up and low-cost; transitioning to a limited liability company is always possible as the business grows. Be sure to ask your accountant whether you qualify for benefits such as young entrepreneur incentive programs.
Before your store goes live, complete the following legal items:
- E-archive / e-invoice: You are required to issue electronic invoices for internet sales; work with your accountant to choose an e-document integrator and complete the setup.
- ETBIS registration: Registration with Turkey's Electronic Commerce Information System (ETBIS) is mandatory for websites conducting e-commerce in Turkey.
- Distance selling agreement and preliminary information form: These must be presented to customers at the checkout step; clearly define the right-of-withdrawal process.
- KVKK disclosure text and privacy policy: Required at every point where you collect form or membership data; don't forget the cookie notice as well.
- Return and exchange conditions: Both a legal requirement and a cornerstone of purchase confidence.
On the VAT side, you display prices inclusive of tax; rates vary by product category. Also note that Shopify's subscription is invoiced in USD from abroad; discuss the VAT responsibility for this type of foreign service purchase with your accountant and record it correctly in your books. None of this is daunting — done in the right order alongside an accountant, these are tasks that can be wrapped up in a few days.
Turkey-Specific Pitfalls: Payments, Exchange Rates, and Localization

We see the same issues repeating in the half-finished Shopify setups we've inherited from clients. If you know the following five pitfalls in advance, you'll breeze past the spots where most businesses lose weeks:
- Leaving the payment application until the end: The most common mistake we see. The store design is done, the products are loaded, and then the launch stalls for weeks waiting on paperwork and approval. Submit the application on day one.
- Failing to account for the USD expense / TL revenue gap: Subscriptions, paid themes, and apps are all dollar-denominated. Since your revenue is in TL, your fixed costs grow when the exchange rate rises; regularly trim your app list and build an exchange rate buffer into your pricing.
- A half-English store: The theme text gets translated, but automated emails — order confirmation, shipping notification — remain in English. "Your order is confirmed" landing in a customer's inbox undermines trust; translate every notification template into Turkish.
- Skipping currency and number format settings: The store currency must be set to TL, and the thousands/decimal separators in price display must match Turkish conventions. Currency confusion looks minor but is disorienting at checkout.
- Copy-pasted legal pages: Distance selling agreements lifted from another site, company name unchanged, create both legal risk and reputational damage; have the texts tailored to your own business.
Each of these areas — commissions, tax structure, shipping, and customer experience — is its own decision domain. We covered the full picture in our Is Shopify available in Turkey? article. If you'd rather not deal with any of these sensitive setup details, our Shopify store setup service takes care of every step for you — payment integration, localization, and legal configuration included.
Going Live: Final Checklist and First Sales
When everything is ready, go through this checklist end-to-end before launching:
- Real test order: Purchase a low-value product with your own card and experience the payment, order confirmation email, invoicing, and returns flow firsthand.
- Mobile check: A large portion of traffic comes from phones; be sure to browse the homepage, product page, and checkout on a mobile device.
- Speed check: Oversized images and unnecessary apps slow down the store; do a speed review before launch.
- Domain and SSL: Connect your own domain and verify that the address shows as secure (https).
- Analytics setup: Have GA4 and ad pixels collecting data from day one; you can only learn what works by measuring it.
- Remove the password: Shopify stores are password-protected until you launch; removing the password page is your final step.
Opening the store is only half the work; the other half is bringing in visitors. It takes time for a new store to gain organic visibility on Google, so first sales typically come through advertising. Starting with Google Shopping and Meta campaigns according to your budget, then incrementally improving product page conversion, is the healthiest approach; our Google Ads for e-commerce sales guide offers a solid roadmap for getting started.
You can absolutely run through all these steps on your own; follow this guide and you'll have a working store. But if you'd rather not lose time on error-sensitive parts like payment integration, localization, and legal configuration, Alis Dijital delivers your store launch-ready through our Shopify store setup service. We work remotely with businesses across Turkey from our base in Kayseri; fill out our free analysis wizard to clarify your needs.