
To advertise on Instagram and Facebook, you first open a free Meta Business Suite (business portfolio) account, connect your Facebook Page and Instagram business account to this structure, define an ad account and a payment method. You then go into Ads Manager, select your campaign objective, set your daily budget, add your target audience and your ad image or video, and submit the campaign for review; ads typically go live within a few hours. Technically, the process is that straightforward. But the difference between "running an ad" and "running an ad that makes money" lies in the details we'll walk through step by step in this guide: choosing the right objective, pixel setup, a budget plan, and reading the first two weeks correctly.
This article was written for a business owner who has never run an ad before. We'll cover everything in order — from account setup and pixel integration to campaign objective selection, budget basics, and creative fundamentals. In the accounts we manage, we know well the situation we inherit from businesses that set up their first campaign themselves: money is usually lost not because the platform is expensive but because the setup was done incompletely. The goal of this guide is to spare you those costly first lessons as much as possible.
Before You Start: The 4 Things You Need
Before you open Ads Manager, these four building blocks need to be in place:
- A Facebook business Page. Not a personal profile — a Page. Even if you plan to advertise only on Instagram, Meta's ad system requires a Facebook Page in the background. Make sure the Page name, logo, and contact information are complete; some users who see your ad will check your profile before clicking.
- An Instagram business (or creator) account. Personal Instagram accounts can't be fully connected to the ad system. Switching to a business account in the account settings is free and takes a few minutes.
- A payment method. In Turkey the most common method is a credit or debit card. When planning your budget, remember that VAT is added on top of your ad spend; the daily budget figure you see in the panel is the pre-tax amount.
- A destination for the traffic. Your website, your e-commerce site, or at minimum an active WhatsApp line. If you're selling exclusively through Trendyol or Hepsiburada, you can still run ads — but since conversion data stays on the marketplace, you won't be able to measure which ad drove the sale. Over the medium term you'll want to invest in your own site — if you don't have one yet, our guide to starting an e-commerce site can point you in the right direction.
There's also a fifth item not on the list: your site needs to be ready to handle ad traffic. Do your pages load fast on mobile? Is your payment infrastructure (a virtual POS (payment gateway) such as iyzico or PayTR) working smoothly? Are the price, shipping, and return details clear on your product pages? An ad just sends more people to a flawed site, making the problem bigger — it doesn't fix it. Tidy up the storefront first, then send out the invitations.
Step 1: Meta Business Suite Setup and Connecting Accounts
The control center for businesses on Meta is Meta Business Suite; the engine room of the ad side within it is Ads Manager. To set up, you create a portfolio for your business at business.facebook.com. The process works conceptually like this:
- Create a business portfolio. A free portfolio is opened with your company name and business email. This structure brings together your Page, Instagram account, ad account, and pixel under one roof.
- Add your Facebook Page. If you're the admin of the Page, it connects to the portfolio in a few clicks.
- Connect your Instagram account and link it to the Page. If this pairing isn't done, your ads in Instagram placements will run with an incomplete identity that doesn't inspire trust.
- Create an ad account. Critical detail: the ad account's currency and time zone cannot be changed later. If you're operating in Turkey, select TRY and the Turkey time zone; if you make the wrong selection you'll have to close the account and open a new one.
- Define a payment method. Add your card and fill in billing information. Using a business card is healthier both for accounting and for account continuity.
- Enable two-factor authentication. On stolen ad accounts, thousands of Turkish Liras can be spent in minutes; everyone with access to the portfolio should have two-factor authentication enabled.
You might be thinking "why all this structure — I can just boost a post and be done with it"; yes, that path is easier. But this setup lets you share access with an agency or freelance specialist without giving them your password, cut access with a single click when staff changes, and keep your entire ad history owned by the business. Years from now you'll still be working with the accumulated data of that same ad account; that accumulation is a significant advantage over competitors just starting out.
Step 2: Pixel and Data Source — You Can't Manage What You Can't Measure
Now we're at the most critical step in the guide. The Meta Pixel is a small piece of code added to your site that tells Meta which pages visitors browse, whether they add items to the cart, and whether they make a purchase. Running ads without this data is like driving with your eyes closed: you can't see which ad drove a sale, Meta's algorithm can't learn who to show ads to, and you can't say "find people who look like my buyers." In short, you can't manage what you can't measure.
As of 2026, the pixel alone is no longer considered sufficient; because browser restrictions and cookie blockers cause data loss, Meta also recommends a Conversions API connection that sends data server-side. Don't be intimidated: on popular e-commerce platforms like ikas, Shopify, and WooCommerce, both the pixel and the Conversions API can be set up without writing code using built-in integrations. The events you need to track during setup are clear: page view, content view (product page), add to cart, initiate checkout, and purchase. If you're a service business, instead of purchase you define a lead event such as form submission or initiating a WhatsApp conversation.
After setup, be sure to test it: open Meta's event testing tool, add a product to the cart on your site, place a test order, and verify with your own eyes that the events are appearing in your ad account. One of the most common problems we inherit in accounts we take over is pixels that were "assumed to be working" for months but had never actually sent a purchase event. In that situation the algorithm optimizes for clicks rather than sales, and budget quietly burns away. If the pixel and Conversions API setup feels daunting, we set up the entire measurement infrastructure as part of our Meta Ads service.
One final note: don't read ad performance from the Meta panel alone. Meta measures its own contribution; you need your GA4 setup ready as well to see your site as a whole, the cross-channel impact, and organic traffic.
The "Boost Post" Trap: The Easy Button, the Expensive Lesson
The blue "Boost post" button in the Instagram app is the easiest but, for most businesses, the most expensive entry point to Meta advertising. You can be running an ad in a few taps; the problem is that this shortcut disables most of the controls Ads Manager offers:
- Optimization objective is limited. Boosted posts are primarily optimized for engagement (likes, comments, views). Meta will find you users who like to engage — not users who like to buy. These two groups look similar on the surface but behave completely differently.
- You can't optimize for pixel events. You have no way to build a sales-focused campaign fed by purchase data.
- Targeting options are limited. You only access a simplified subset of the audience tools available in Ads Manager.
- Creative and placement control is restricted. You push the existing post as-is; you can't do format variations, A/B tests, or placement-specific adaptations.
Does boosting ever work? Yes. It's a reasonable tool for small awareness and engagement touches — like a local café announcing a new menu to its neighborhood, or increasing visibility for an event. But if your goal is sales or lead generation, Ads Manager is where your budget belongs. The most common situation we see in our clients is businesses that have spent months boosting posts and concluded "Instagram ads don't work for us"; what wasn't working was the tool, not the platform.
Step 3: Campaign Objective Selection — Not Traffic, Sales
The first question you face when creating a new campaign in Ads Manager is the campaign objective, and this choice determines the fate of your first campaign. Because this is where you tell Meta what to optimize for; Meta then shows your ad not to everyone, but to the users most likely to take the action you selected.
| Campaign objective | What does Meta optimize for? | Who is it for? |
|---|---|---|
| Sales | Pixel events such as purchase and add to cart | E-commerce sites — this should be your first choice |
| Leads | Form submission, message/WhatsApp initiation | Service businesses, B2B, appointment-based businesses |
| Traffic | Clicks and page visits | Very specific use cases; a trap for beginners |
| Awareness / engagement | Reach, views, likes | Established brands that can allocate a branding budget |
The trap beginners fall into most often is the "let me get traffic first, clicks look cheap" approach. Traffic campaigns really do bring cheap clicks; but with this objective Meta finds users who have made a habit of clicking — an audience that enters your site and exits in three seconds, never adding anything to the cart. If you're doing e-commerce, set up a campaign optimized to the purchase event using the Sales objective from day one. The concern "I have no sales yet, what will the system learn from?" is common; at the start the algorithm is fed by upper-funnel events like add-to-cart, and its accuracy improves as data accumulates. If your campaign is running but sales aren't coming, the problem is usually in the layers after the objective selection; our article Why Meta Ads Aren't Driving Sales addresses those eight common mistakes one by one.
Step 4: Budget and Bid Basics
The honest answer to "how much budget should I set for my first campaign?" is: it varies by your product price, profit margin, and industry — but the logic is always the same. Your budget needs to generate enough data for Meta to learn. Meta's own guideline targets around 50 optimization events (e.g., purchases) in a week for an ad set to complete the learning phase. When you roughly multiply by the conversion cost you expect, it becomes clear why symbolic daily budgets leave the system unable to learn for months.
In the Turkish market in 2026, typical starting ranges we see in the accounts we manage are: 300–1,000 TL per day for e-commerce sales campaigns, 200–600 TL per day for service business lead campaigns; a test budget of around 10,000–30,000 TL for the first month in total. These are tendencies, not commitments: in competitive categories (apparel, cosmetics, jewelry) the numbers stretch upward; for niche products less may be sufficient. Remember that VAT is added on top. For CPM levels, cost differences by sector, and realistic return expectations, see our Instagram ad costs 2026 article.
A few practical rules:
- Start with a daily budget. Lifetime (total) budgets are for dated special campaigns; a daily budget makes control and reading easier.
- Leave the bid strategy at the default. "Highest volume" is the right starting point for new accounts; cost cap and manual bidding are advanced tools not to be touched before data has accumulated.
- Don't keep changing the budget throughout the day. Every large change restarts the learning phase.
- Measure success by return, not spend. ROAS — how many times your ad spend comes back as revenue — is the ratio you need to track from day one; we explain how to calculate it in our ROAS guide.
Step 5: Targeting — Broad Audience, Interest Targeting, and Advantage+
"Who should my ad be shown to?" used to be the most discussed topic in Meta advertising: interest stacks, behaviors, layered audience combinations… In 2026 the picture has changed. Meta's algorithm has become so capable that in most cases the best results come not from manually narrowing the audience but from leaving it broad and delegating the decision to the algorithm and the creative.
- Broad targeting: you define only location, age range, and if needed, gender; the algorithm handles the rest. For an e-commerce site selling across all of Turkey, this is generally the healthiest starting point.
- Advantage+ audience: Meta's AI-assisted audience system; it takes signals you provide like age and interests as suggestions rather than hard constraints, and goes beyond them where it sees results. Its accuracy improves as your pixel data accumulates.
- Interest targeting: still useful for niche products (e.g., fishing equipment, model aircraft parts). But splitting every interest into a separate ad set and micro-managing it today mostly just fragments data and raises costs in most accounts.
Be careful with location: if you only ship to specific provinces or provide a local service, narrow your targeting accordingly. A beauty salon operating in Kayseri showing ads to all of Turkey means most of the budget flows to people who could never be your customer.
Powerful tools like remarketing (re-showing to people who visited your site) and lookalike audiences don't need to be on the agenda of your first campaign; they come into play after pixel data has accumulated. Keep your focus simple in the first weeks: one clean, broadly targeted, sales-optimized campaign.
Step 6: Creative — The Campaign's Fate Is Decided in the First 3 Seconds
As targeting has been handed over to algorithms, the main arena of competition has shifted to creative. The saying frequently repeated among performance marketers today isn't said for nothing: creative is the new targeting. We regularly see in the accounts we manage that just changing the ad video — with the same budget and the same audience — produces results several times better. For your first campaign, the basic rules:
- Make 9:16 vertical video your priority. Reels and Stories placements are where both reach and the most cost-efficient impressions come from; a full-screen vertical format feels natural there. Keep square (1:1) images as backup for feed placements.
- The first 3 seconds are everything. Open with something that stops the scrolling thumb: show the problem itself, ask a bold question, or show the product in use. An ad that opens with a logo animation loses the viewer before it's even introduced itself.
- Be ready for silent viewing. A significant share of users watch videos with the sound off; if there's spoken content, add subtitles, and support your message with on-screen text.
- Natural content beats polished production most of the time. In performance ads, authentic phone-shot storytelling and customer experience videos (UGC-style) consistently outperform studio-quality promotional films. Test both, and let data drive the decision.
- Start with 3–5 variations. Different opening scenes, different emphasis, different copy. The algorithm distinguishes the winner within a few days; you learn which message resonates.
- Keep ad copy simple. One promise, a clear offer, concrete information: shipping time, ease of returns, price advantage. Information that helps someone decide — not a pile of flowery adjectives — is what gets the click.
If you'd like to go deeper on creative strategy and see format-specific details, our comprehensive Meta Ads guide has an advanced treatment of budget, targeting, and creative topics.
Step 7: Going Live and Reading the First 2 Weeks Correctly
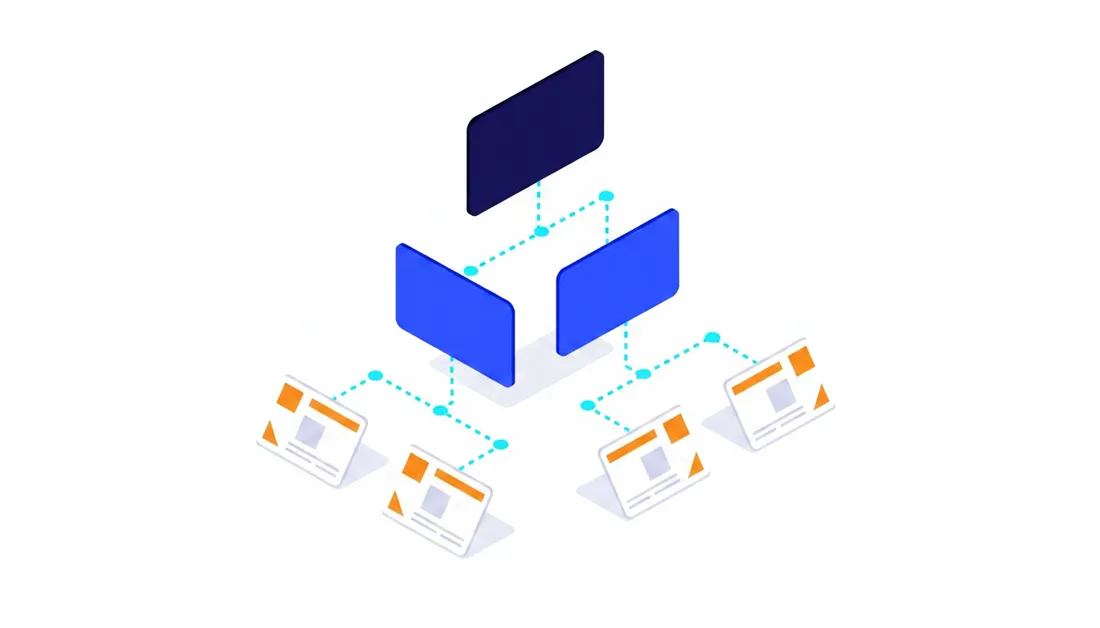
Before going live, let's clarify the structure you'll be building. Every campaign on Meta has three layers: campaign (where the objective is chosen), ad set (where budget, audience, and placements are defined), and ad (the video/image and text the user actually sees). Our recommendation for the first setup is simple: 1 campaign, 1–2 ad sets, 3–5 ad variations per set. Complex structures do nothing but fragment data.
When you submit the campaign for review, Meta checks your ads for policy compliance; this usually takes a few hours. If your ad is rejected, don't panic: read the rejection reason, edit the copy or creative, and resubmit. Health claims, exaggerated earnings promises, and addressing personal characteristics in the "you" voice (e.g., "Tired of your weight?") are among the most common rejection reasons.
And now the hardest part of the first campaign: waiting. Results are volatile in the first days because the system is in a learning phase. Every large change made during this period — doubling the budget, changing the audience, pausing and restarting ads — resets the learning. The most damaging habit we see in the accounts we manage is closing the campaign and rebuilding it when no sales come in the first 48 hours; this is like blaming the oven for raw bread before it's even had a chance to heat up.
During the first two weeks, check these four indicators regularly:
- CPM (cost per 1,000 impressions): the price of reaching your audience. It fluctuates with industry and season; use it for comparison across time periods, not as a standalone good/bad indicator.
- CTR (click-through rate): the fastest signal of whether your creative is capturing interest. If it's low, the problem is most likely the ad, not your site.
- Add to cart and purchase: if people who click aren't converting on site, the problem is the site — product page, price perception, shipping cost, checkout flow. This is where our conversion rate optimization guide comes in.
- ROAS: how many times your spend comes back as revenue. Evaluate over a weekly window at minimum, not daily; judging from a single day is misleading.
At the end of two weeks you have data rather than guesses: which creative is working, what range costs are running in, where the site is getting stuck. Scale up by gradually increasing budget to the winning ad; the industry-accepted approach is not to raise the daily budget by more than 20–30% at a time. Tripling the budget overnight re-triggers the learning phase and spikes costs.
The 5 Most Common Beginner Mistakes
Before we close the guide, let's list the five mistakes we clean up most often in the accounts we inherit:
- Starting without measurement. No pixel, or pixel is installed but the purchase event isn't firing. Nobody knows whether the ad is performing well or poorly.
- Expecting sales from a traffic objective. A crowd of cheap clicks never converts into cart additions; the feeling that "ads don't work" grows.
- Treating the "Boost post" button as a strategy. Engagement accumulates, revenue stays flat.
- Tweaking the campaign every day. Because budget, audience, and creative are constantly changing, the system never completes the learning phase.
- Running the same creative for months. When the same audience sees the same ad repeatedly, performance drops (creative fatigue); producing fresh variations is not ad maintenance — it's fuel.
If you get these five things right from the start, your first campaign may not be perfect but it will be a campaign that teaches you — and in Meta advertising, that is exactly the source of long-term success: a system that becomes a little more accurate with every iteration.
You can build your first campaign with this guide; the process is manageable for anyone who can make time to learn. But as your business grows, creative production, test architecture, and scaling demand serious time and expertise. If you'd like to hand your ads over to a team that does this every day, you can explore our Meta Ads management service and fill out our quick free analysis wizard for a roadmap tailored to your business. Good luck with your first campaign!